Step 2: Add basic web application
Next, we need to add a basic web application to our account on PythonAnywhere. Fortunately, PythonAnywhere provides a straightforward way to deploy and manage web apps with minimal effort.
1. Add a new web application
- Navigate to the “Web” tab in your PythonAnywhere dashboard.
- Click ”+ Add a new web app” to start the setup process.

2. Configure the web application
If you are using the provided bottle app script, select the following to configure the web application:
python framework: Bottle
python version: 3.7
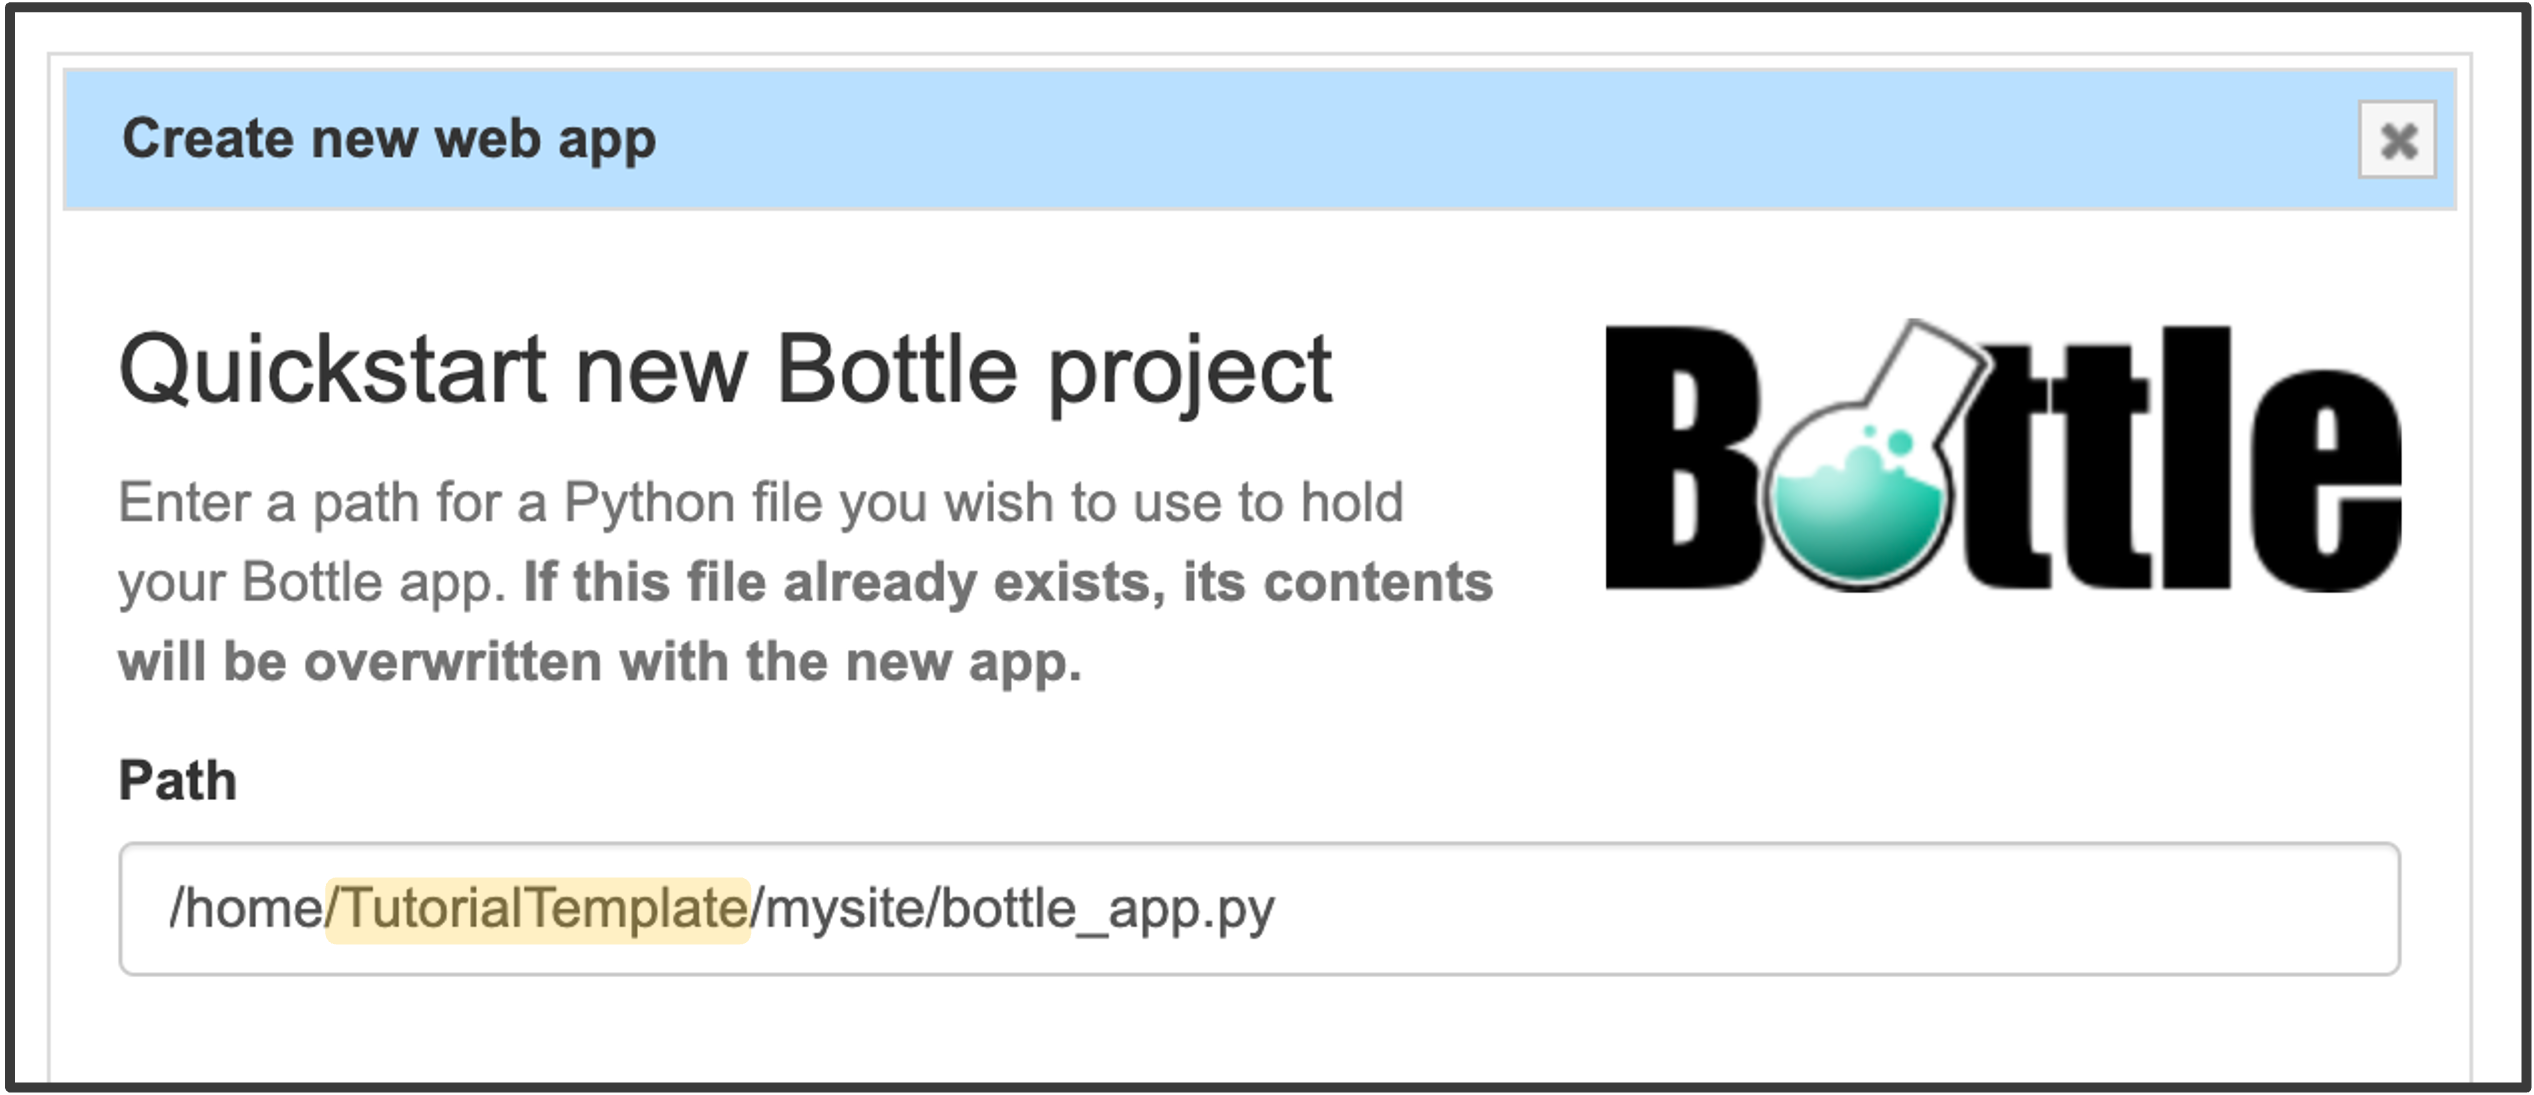
In “Quickstart new Bottle project”, do not modify the default path. The path should look like the example below.
Note
“TutorialTemplate” is the PythonAnywhere account name used for this tutorial. In your case, it will display your own account name.
3. Finalizing the Setup
Once the setup is complete, you will be redirected to a web app configuration page similar to the one below.
At the top, you will see your web address. You will need to use this exact URL in your experiment code later (see Step 5 within this Notebook)

The web application will run for 3 months and then is automatically disabled.
You will recieve an reminder email before the application is disabled and the web appliucation can be renewed for another 3 months at any time (before and after it has expired).