Decrypting Received Data
Here, we assume that you successfully received the encrypted data. After downloading the encrypted data from the server, we need to decrypt it before we can use it for analysis.
To simplify this process, we provide an implementation in a Jupyter notebook that is complementary to the encryption algorithm provided in the Encrypt() function in ConnectionHandler.cs.
You can download the Jupyter Notebook here: GitHub.
1. Download data from PythonAnywhere
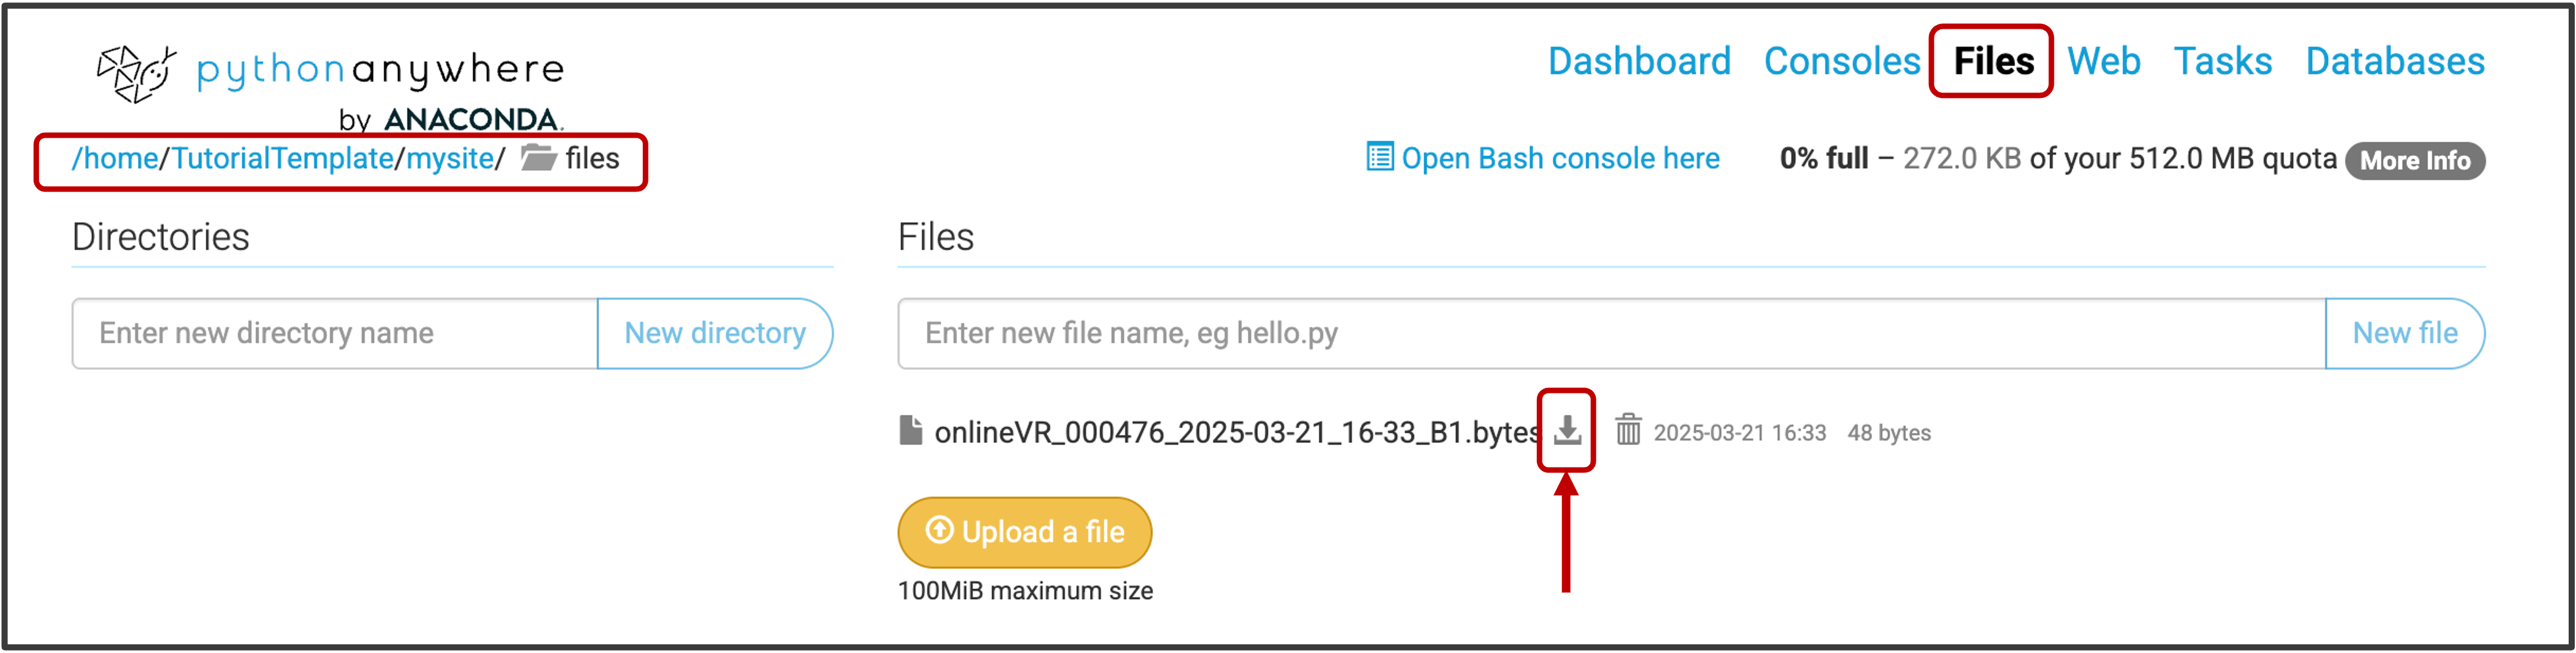
To download the data, go the the Files tab in python anywhere. Navigate to /mysite/files/. Then download the received data.
2. Configure the Jupyter Notebook
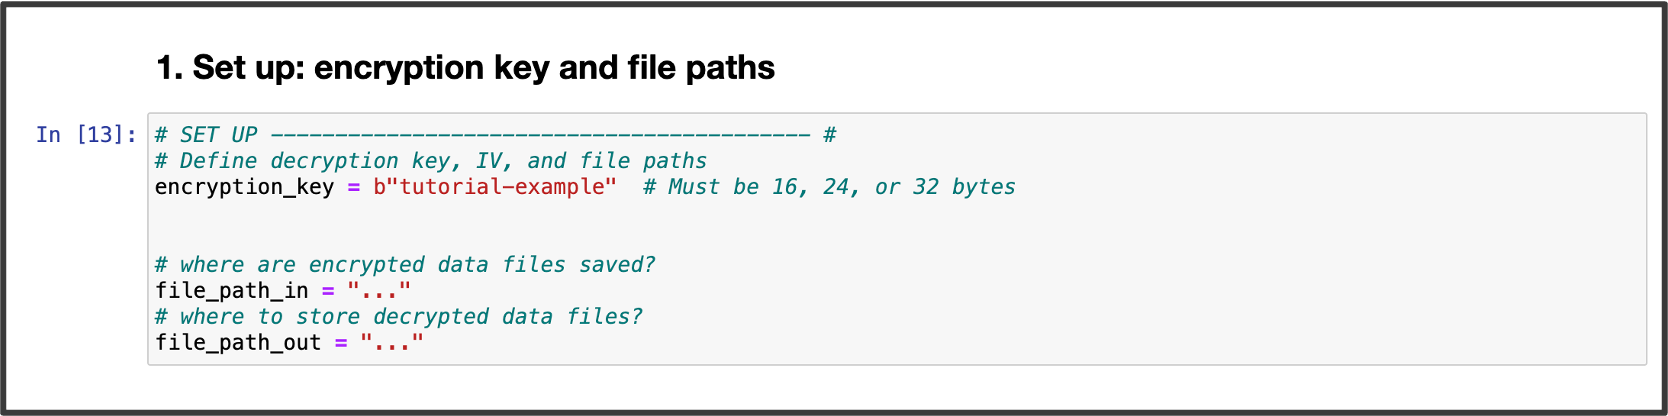
To decrypt the data, we first need to configure the jupyter notebook. Most importantly, we need to specify the encryption key. That is, the same key we entered within the bottle_app.py web appplicatuon script.
To use the decryption script, follow these steps:
- Provide the encryption key. This must be the same key used for encryption.
- Specify the filepath to the folder containing the encrypted files. You also need to specify the filepath for the folder where you want the decrypted files to be saved.
2. Decrypt files
After configuring the script, simply run Step 3 within the Jupyter Notebook. The decrypted data files will be saved to the path specified in file_path_out.
Check that everything is working
In case you are replicating the minimal pipeline using the materials provided for this tutorial, the decrypted data file should consist of the folowing message:
“Well done! You have sucessfully encrypted, transferred, and decrypted a data file.”